DiagnoStar EMR: How to sign up for an EMR
An electronic medical record (EMR) is a digital version of all the information you’d commonly find in a provider’s paper files. This information includes medical history, diagnoses, medications, immunization dates, allergies, lab results, and doctor’s notes. EMRs are online medical records of the standard medical and clinical data from your providers. They are mostly used by said providers for diagnosis and treatment.
The first step to owning your Electronic Medical Record (EMR), is by subscribing to the Diagnostar EMR. It is inexpensive and costs only ₦500/month. Once you have completed your subscription, fill out and upload your relevant health information including your medical history, allergies, past appointment history, surgical records, prescriptions, etc. This will give your health providers an overview of your health condition and guide them to accurately diagnose you and give you the treatment you need to get back on your feet.
Using the DiagnoStar EMR is easy, thanks to its simplified interface. Visit the home page and proceed to register by selecting the “Explore Diagnostar EMR” button.
Follow the steps and complete your registration to move on to the next step: Filling your EMR with your health information.
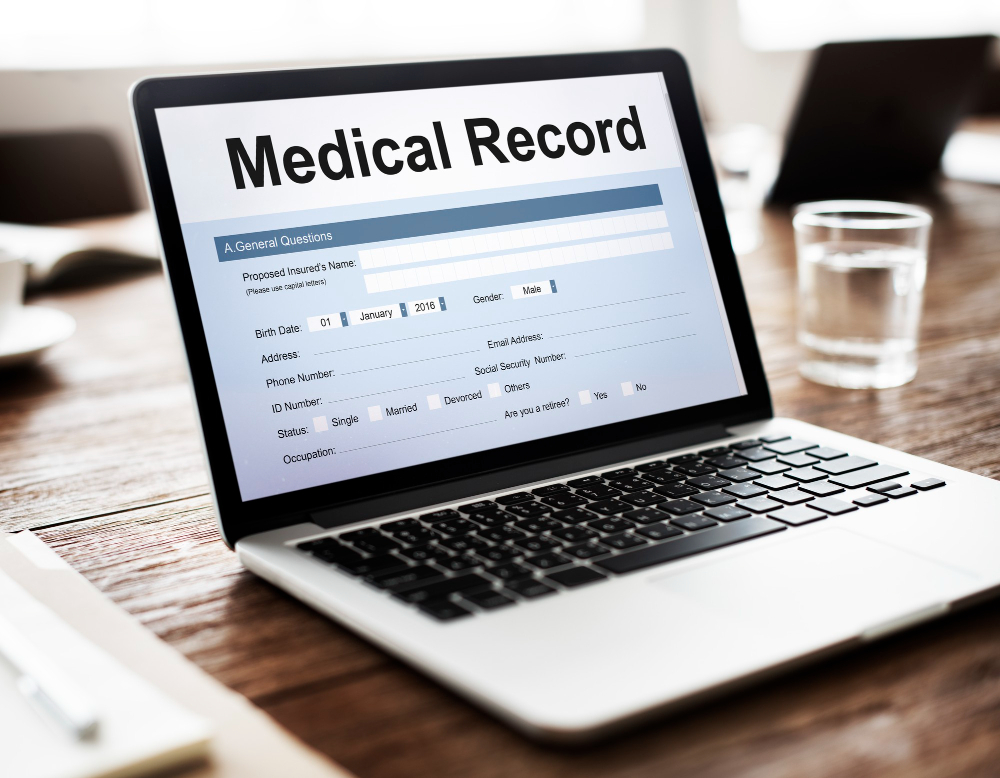
Learn how to fill your diagnoStar EMR
- Login to your dashboard to open your portal homepage
- Click on the “Medical Records” link on the main navigation panel
- Select “General Condition” on the quick link menu, choose to edit the form with your basic medical information, and save
- On the quick link menu, select other links – Allergies, Family Medical History, Medications, Surgical Records, Discharge Notes, Documents, Past Hospitalisations, and Past Encounters – to update your information
- Save every form after completion to fill your EMR
Now that your health information has been compiled, you can choose to use our integrated services e.g: scheduling an appointment
Learn how to schedule an appointment:
- Login to your dashboard to open your portal homepage
- Click on the “Medical Records” link on the main navigation panel
- Select “Appointments” on the quick link menu to schedule a new appointment
- Choose your preferred provide; refine your search by specialty, language, gender, and location with a filter
- Select the available time and date alongside the requirements to complete your booking
Once you have learned how to fill out your health information in your EMR and schedule an appointment, you can begin to explore the fantastic advantages owning your EMR avails you.
Contact support for help if you need further assistance setting up.